Fern spores are not seeds. There is no coat to crack, no store of food to fall back on, and no shortcut. A single spore is a speck of dust you can barely see, and it will spend weeks — sometimes months — turning into a flat green film before anything resembling a frond appears. That is exactly why sowing indoors appeals: it lets you control the light, the moisture and the temperature while the whole slow business unfolds on a windowsill or in a spare room. Get it right, and one ripe frond can give you dozens of plants.
What Happens After You Sow
A fern spore does not grow into a fern. It grows into a prothallus, a small flat gametophyte, usually heart-shaped and only a few millimetres across. It has no roots, only fine rhizoids that anchor it and take up water. On its underside it produces male and female organs, and the sperm needs a continuous film of water to swim to the egg.
Only after fertilisation does the plant you actually wanted appear: the sporophyte, with proper roots, a rhizome and fronds. The prothallus then shrivels and dies, its job done. Understanding that sequence explains nearly every rule that follows. Nothing about this stage tolerates drying out, and nothing about it happens quickly.
Collecting Ripe Spores
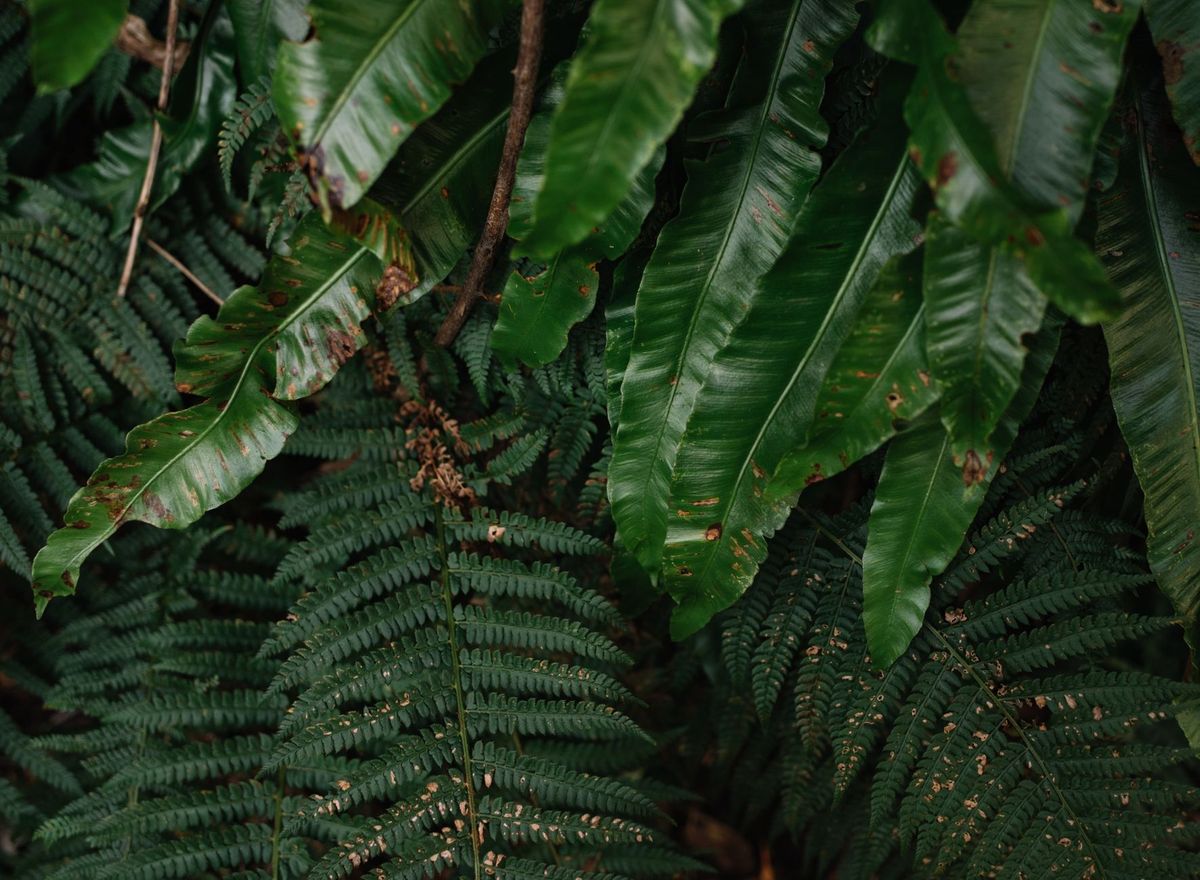
Turn over a mature frond in late summer or autumn and look at the sori — the clusters of spore cases on the underside. Immature ones are green or pale brown. Ripe ones are rusty, dark brown or almost black, and the individual cases begin to split. If you tap a ripe frond over a sheet of white paper and a fine dust falls, you are in business.
The tidy method is to cut two or three fronds, lay them flat in a paper envelope or shallow box, and leave them somewhere dry and warm for a few days. The spores drop on their own and collect in the bottom. Label the envelope with the species and the date, then keep it cool and dry. Fresh spores germinate most reliably, so sow within a few months if you can rather than leaving them in a drawer for years.
- Easy to start with: hardy polypody, male fern, hart's tongue and most maidenhair ferns.
- Avoid for now: named cultivars and hybrids, whose offspring will not come true to the parent.
- Keep separate: one species per envelope, and one species per pot. Spores travel, and a mixed tray is a puzzle you cannot solve later.
Sterilising Compost and Everything It Touches
Spores germinate slowly and stay tiny for a long time. Moss, liverwort, algae and fungus gnats will all overtake them. Sterilising is not fussiness; it is the difference between a clean green film of prothalli and a pot of moss with a few ferns hidden inside it.
Use a fresh, fine, low-nutrient seed compost. Rich compost encourages algae, which smothers prothalli. Sieve it to a fine, even texture and mix in a little washed horticultural grit or perlite for drainage.
- Sieve the compost into a clean bucket and mix it thoroughly.
- Moisten it with cooled boiled water to the consistency of a wrung-out sponge.
- Sterilise it. Either microwave it in a covered container until it steams, or bake it in a low oven — around 80–90°C — until it steams, then leave it to cool completely. Pouring boiling water over the compost and covering it until cold is a gentler alternative.
- Scrub your pots and trays with hot soapy water, rinse them well and let them dry.
- Water only with cooled boiled or distilled water from now on. Tap water is fine in many areas, but it carries algae and can leave deposits on the surface.
Work with clean hands and clean tools once the compost is cool. A quick wipe of your dibber and bench with diluted household cleaner costs nothing and saves a lot of squinting at moss.
Sowing, Then Sealing in Humidity
Fill your pot or shallow tray, firm the compost gently and level the surface. Tap the spores thinly from the envelope — a pinch spread over a 9cm pot is plenty. Do not cover them with compost. Most fern spores need light to germinate, and they are small enough to be buried by a single watering can splash.
Then cover the pot. A clear lid, a propagator or a sheet of cling film held with an elastic band all work. Keep the whole thing at roughly 18–21°C, in bright but indirect light. A north-facing windowsill or a shelf away from direct sun is ideal, because trapped heat under a lid can cook a tray in an afternoon.
Condensation on the inside of the lid is exactly what you want. Water from below by standing the pot in shallow water for a few minutes, or mist very lightly with cooled boiled water if the surface starts to look dull. Lift the lid for a few minutes if mould appears, then close it again.
The Long Wait: Green Film to Prothalli
For the first few weeks, nothing happens except a faint green tinge you will probably mistake for algae. That tinge is the beginning of germination. Prothalli then develop as a mossy film before flattening into distinct heart-shaped thalli, each a few millimetres wide.
This is the stage that defeats people. The surface must stay moist at all times; a single dry afternoon can set a tray back or kill it outright. Thin clumps with tweezers if they are jostling, and keep the lid on. When the prothalli are mature, the film of water on their surface allows fertilisation, and the first tiny true fronds push up from them. The prothalli then brown and fade. Leave them — they are feeding the young ferns.
Pricking Out and Growing On
Wait until each little fern has two or three fronds before you move it. Lift small clumps with a spoon or a blunt dibber, keeping compost around the roots, and pot them into a free-draining mix. Keep them shaded and humid for the first fortnight, then begin opening vents or lifting the cover for longer each day. Acclimatise over two or three weeks rather than stripping the cover off in one go.
A Realistic Timetable
Timings vary with species and conditions, but here is roughly what to expect if you sow in late winter or spring:
- Green film: three to eight weeks.
- Visible prothalli: two to four months.
- First true fronds: four to nine months.
- Plants ready to pot on properly: the following spring.
Label every pot with the species and the sowing date, sow more than you need, and resist the urge to fuss. The main things that go wrong are drying out, direct sun under a lid, and dirty compost. Fix those three and the rest is simply waiting.
Photo: Jeffry Surianto / Pexels